Andrew and I moved into our rental house just before Christmas last year. When we moved we were only thinking we would be living there for a short while because we were looking to buy a house. Then life hit and decided that wasn't in the cards for us in the near future...typical.
For whatever reason we still haven't totally unpacked our house. Maybe it's holding onto the hope we will move into something better, but then we see the (relatively) small size of our rent check and think...fuck it, we'll stay. Regardless our house is a total disaster. I mean, I have only had 3 people over to the house in 8 months because I'm embarrassed by how gross it is.
Those of you who know me (or even lived with me) have some idea of my OCD tendencies. I'm a neat freak (note: that did not say clean freak). I like everything to have a place. I like matching stationary sets. And I especially like everything to look pretty.
I feel that 8 months is enough of a grace period for getting a new house in order, and I have promised myself that I will make our rental into a home. Over the next few months I have vowed to find everything a spot in our home. If it doesn't have a spot, it doesn't stay.
I will try to take before and after photos as best I can so you too can laugh at the state our house is in! I don't promise our house will become Pinterest-worthy, but I do promise that it won't be a sore to look at!

Thursday, August 29, 2013
Wednesday, August 28, 2013
Wedding Wednesday: We Have a Venue!
I still can't believe I'm getting married in less than a year, but now that we have decided on our venue it feels all that more real!
One of the hardest parts of this whole wedding planning was trying to figure out where we were going to get married. Andrew's family is from So Cal, while my family is in Nor Cal! We had thought about splitting the difference, but honestly that didn't make much sense to us. After a few months humming and hawing over different places we finally settled on our small town in Arizona.
That's when the real work set in, because now we had to actually choose a venue. In total I saw about 7 different venues, but Andrew and I both fell in love with the second one we looked at. It really came down to 2 incredible, but entirely different locations and we have finally chosen one. It's the first one we both loved.
I know it's still a year out but I feel as if a huge weight has been lifted from our shoulders. Now we can finalize our Save the Dates and get those out to everyone! Of course once we decide on those I'll share them with everyone!
 |
| A sneak peak at our venue! |
Sunday, August 25, 2013
New Social Media Buttons
Check it out, new social media buttons! It's amazing how something so simple brings me so much joy!
Wednesday, August 21, 2013
How I Asked My Bridesmaids
As I said before in a few posts I feel a little guilty that my wedding will be in Arizona because pretty much our entire guest list has to travel. That's right, we are having a destination wedding in...Arizona. Ha!

That being said, I wanted to ask my girls in such a special way that they feel loved that they don't care (as much) about how much money they are about to commit to spending. And luckily my wedding is taking place after Pinterest came about, so I have a wealth of ideas at my fingertips (with beautiful photos to boot)!
I knew I wanted to send each girl an individualised package, but I wasn't sure how I was going to ask them. Then I came across these cute poems and decided to borrow bits and recruited a very talented friend to help me personalise it to my wedding. This is what we came up with:
Hope the sun will be shining down
and that I will fit into my gown!
The day, the dress,
The couple, the guests,
the smiles, the vows
And everything that wows
Expressing true love to my husband-to-be
with family and friends all watching me
The couple, the guests,
the smiles, the vows
And everything that wows
Expressing true love to my husband-to-be
with family and friends all watching me
Hope the sun will be shining down
and that I will fit into my gown!
Now I know it’s a big ask
For you to hop on a plane
But if you weren’t there
The day would really be lame
For you to be here on this special day
It would truly make my heart sway
And who knows which one of you will catch the
bouquet
I had seen a lot of prints on Etsy connecting 2 states with hearts to represent where each person lived. I thought that was super cute, so I decided to use that for the front of the card. I drew in the dotted line to connect the 2 locales and it turned out looking like this:


So then on the back of the card I put the poem. But I thought it looked a little boring so I decided to fade a photo in the background (tutorial here). It ended up looking really cool.

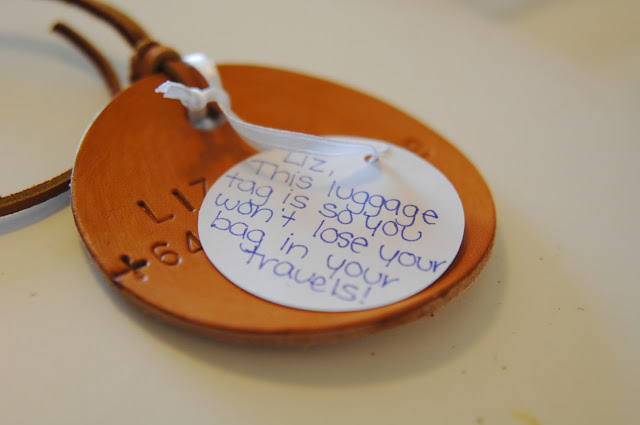
Originally Andrew and I wanted to get married in Hawaii. Unfortunately, my grandparents didn't want to make the trek there which put a kabosh on our plans. But through that process I became obsessed with creating luggage tags as our save the dates. Obviously we didn't have the money for that, but I couldn't put it out of my mind. Luckily that idea popped back up when I was thinking about how to ask my bridesmaids. Since all the girls have to travel (some farther than others) I figured a luggage tag would be an awesome gift.


You can check out the luggage tag tutorial here.
To top off the whole thing I threw in some chocolate Kisses to sweeten the deal!


Since the packages I got were just a tad too small for the card (just my luck, right?) I decided to wrap it in scroll form with some pretty glittery ribbon.


And off in the mail they went!


This is how it came out! What do you think?


And off in the mail they went!

Tuesday, August 20, 2013
This Week: On Pinterest
Today I thought I would share some of my favourite pins from Pinterest! I'm completely obsessed with Pinterest and have found so much inspiration scanning page after page of pins!


life-size scrabble / kissing in the rain (source unknown) / banquet reception
painted cutlery (source unknown) / gumboots / pleated dress
Monday, August 19, 2013
Mint Lemonade

Mint lemonade is my absolute all time favourite (non-alcoholic) drink! My preferred order of this delish beverage is from Porto Via in Los Angeles.
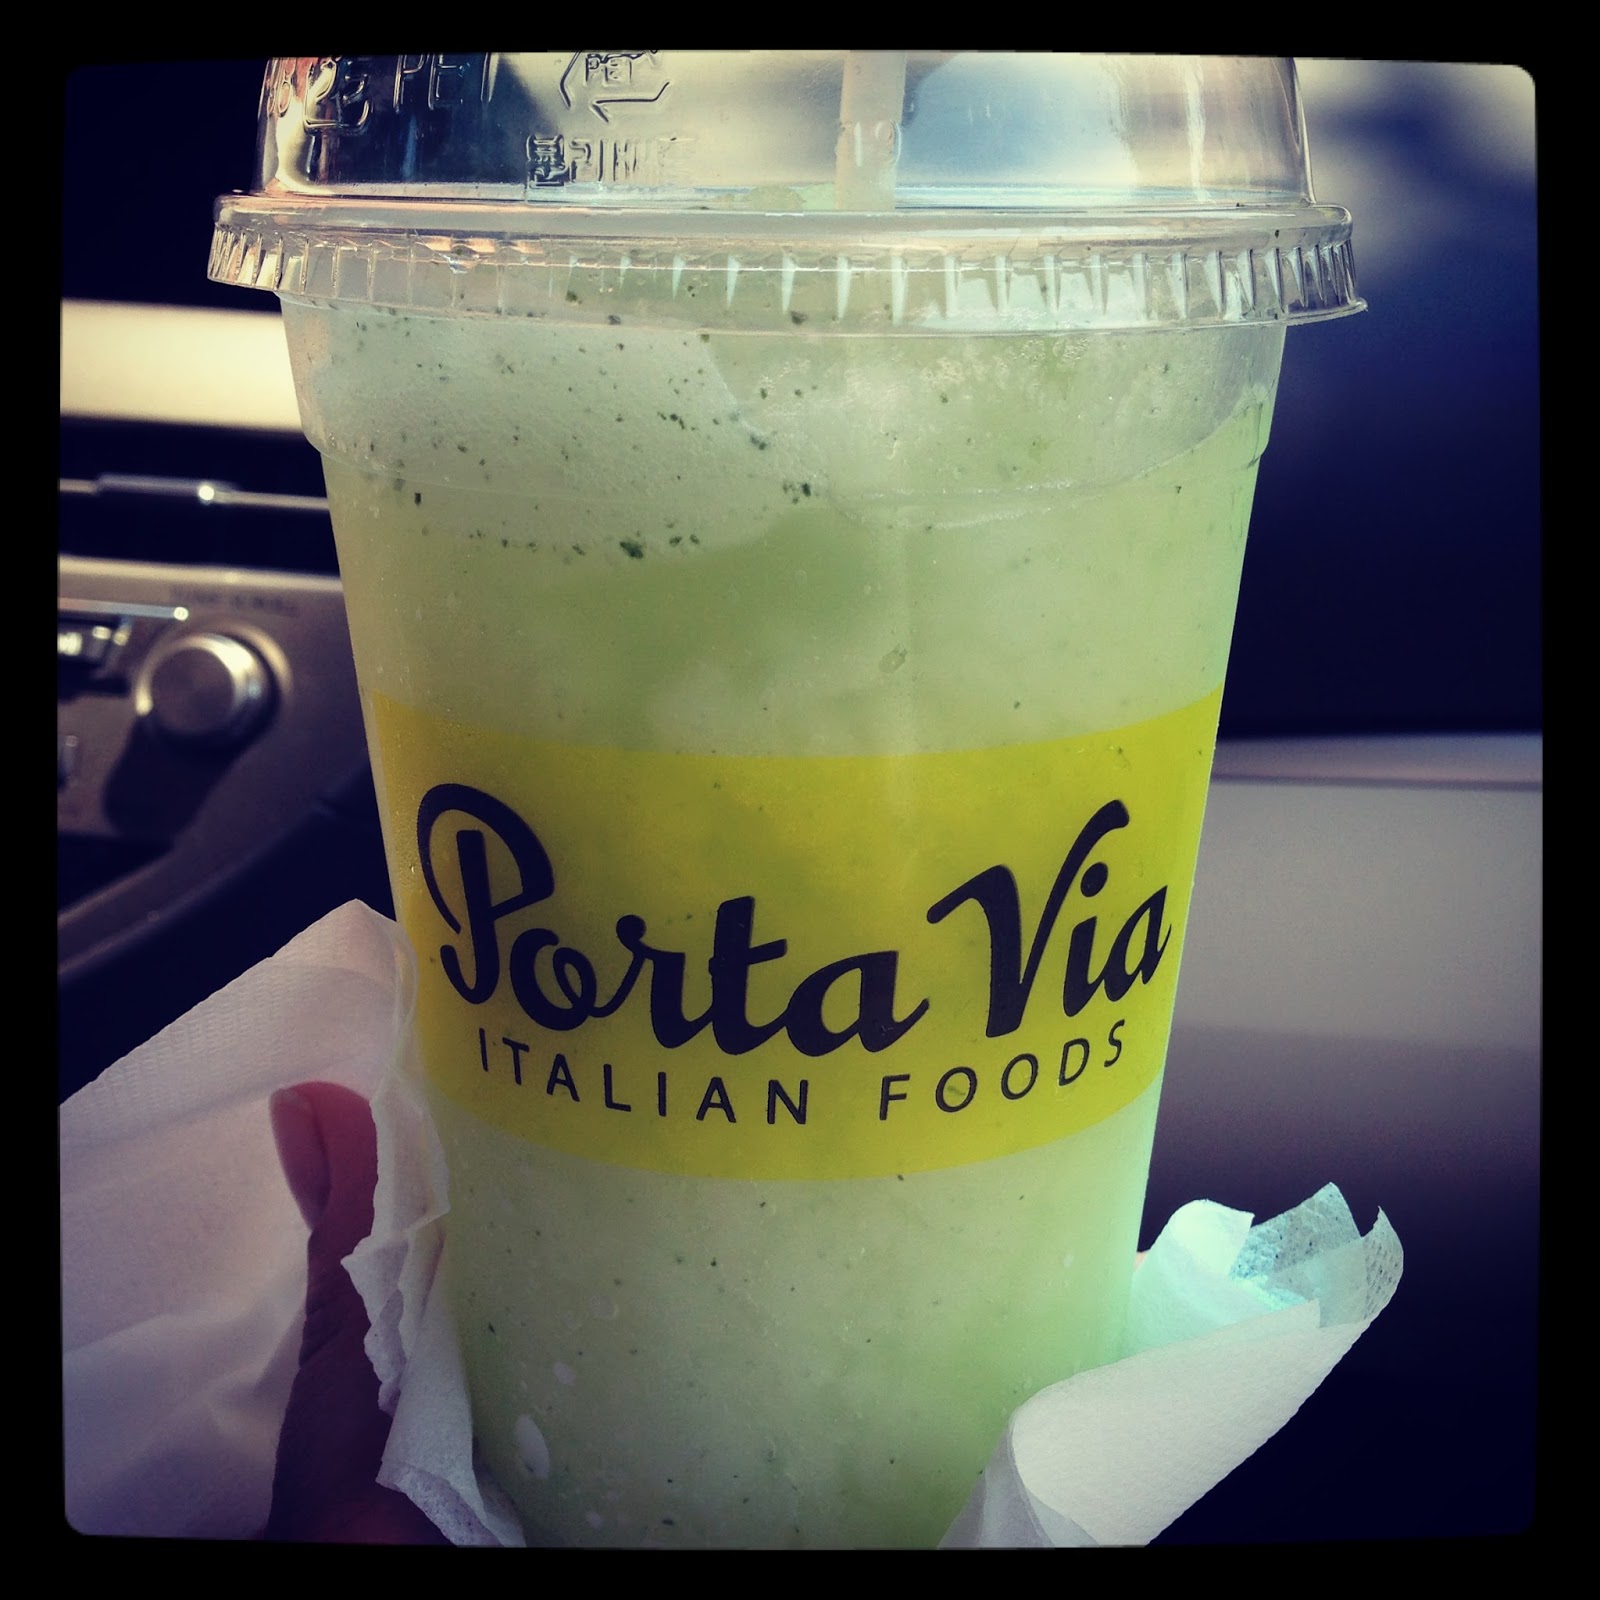 |
The next best thing is this homemade recipe.
 Ingredients:
1 cup Mint Simple Syrup - found here
1 cup Lemon juice (can be fresh squeezed or store bought, but fresh is always best)
7 cups Water
Pour all ingredients into a 2 litre pitcher and stir vigorously!
Seriously easy. Enjoy!


Friday, August 16, 2013
It's a Zoo in Here
I just found my new favorite print shop! This year I really got into photography. I have always loved it (hello I did go to Film School), but I was never very confident in my own photography skills. That is until last semester I took my first ever photography course - 35mm black & white film photography. It was amazing and totally got me hooked! I signed up for a digital photography class this year, and I can't wait.
In any event, I'm constantly scouring the web for great prints. Our walls in our house are really boring and I believe that you can never have too much art! Then this morning I stumbled onto this incredible site and completely fell in love!

In any event, I'm constantly scouring the web for great prints. Our walls in our house are really boring and I believe that you can never have too much art! Then this morning I stumbled onto this incredible site and completely fell in love!
 |
| baby giraffe |
 |
| baby zebra |
 |
| baby elephant |
 |
| piglet |
All photos were found on The Animal Print Shop by Sharon Montrose. She's has an incredible collection of all sorts of animals, so if you're looking to frame your spirit animal, this is the place to go!
Wednesday, August 14, 2013
Tutorial: How to Create a Transparent Photo in Word
As part of my bridesmaid package, I decided to create something special and unique for each girl. At some point I saw a tutorial on Pinterest for making a photo transparent in Microsoft Word. I thought that was an absolutely brilliant way to specialize each card to the girl!
This is how I did it.
Step 1:
Open up your document in Word. Here I have already created the front and back of my 'Will You Be My Bridesmaid?' card.

Step 2:
Now you want to insert your photo into the word document.

Step 3:
When you insert your photo it will likely push your writing (if you have any) onto another page.

Step 4:
While your photo is selected, you want to change how the photo interacts with the text. You need to be under the 'Format Picture' tab (highlighted in purple on the top) and then select the 'Wrap Text' box (which is the one with the dog and lines behind it). Select 'Behind Text' - this will bring your text on top of your photo.

Step 5:
Now you can make your photo transparent. To the left of the 'Wrap Text' box is the Transparency scale. As you drag the triangle to the right or left your photo will become more or less transparent. Play around with it until you find the transparency you want.

Step 6:
Voila, you are done!

DIY Leather Luggage Tags

As part of my bridesmaid package I decided to send my girls luggage tags. Frankly, I'm asking each of them to spend quite a lot of money, especially on flights, so I figured I should give them something nice. I browsed Etsy for luggage tags, and although there were some beautiful ones, it just wasn't in my budget, so DIY it was.
I chose leather because I think it's a nicer material for a luggage tag. It's sturdy and it looks classy on any bag.
I live in a small town, and yet we have 3 craft stores around! I went to all 3 in order to get the leather I was looking for! Finally at the last store, Hobby Lobby, I found the perfect leather. I do have to say Andrew and I were completely overwhelmed when we walked into Hobby Lobby. The store is basically the size of your average Target, and has just as much stuff! Insane! We had to ask for directions in order to find the leather aisle.
 |
| Simple round leather / Hobby Lobby |
I also had to buy a tooling kit for the leather, so I can make the impressions. I also found that at Hobby Lobby (what an excellent store). I just got the basic letter and number set. This was probably the most expensive part of the whole project ($26.99, but if you use a coupon it's 40% off)!
 |
| Tooling Set / Hobby Lobby |
Step 1:
Wet the leather with a damp cloth (in my case I used a paper towel).
 |
| With leather everything should be done in circular motions. Don't swipe the cloth, move it in circles around the leather. This gives it a more even coverage. |
Wait for your leather to return close to the natural color of the leather (the water will darken the leather). This part doesn't take much time, as long as you didn't soak your leather.
Once the color returns line up your letter/numbers where you want them and then whack the end of the tooling instrument with a rubber mallet.

Now there's definitely a trick to getting the letters to line up in a straight line. I did not get this at first and definitely went through a few practice pieces of leather (like 5...). In the end I actually used a post-it note! Weird I know, but the adhesive side kept it in place and the edge created the straight line I needed to guide me.
Step 3:
Punch a hole in the top of the luggage tag. This is so you can attach a piece of string so your tag can be attached to your bag!
This step really tripped us up, and I, unfortunately, have no pictures to show you. We went to Home Depot and bought a grommet kit. The grommets didn't actually fit because the leather is actually pretty thick (1/8"), so we just used the punching part of the kit and were able to punch pretty decent holes.
Step 4 (optional):
The leather I had chosen didn't match any of the leather strings that were available, so I decided to stain the leather pieces. I wrote a short post about staining here. The whole process is actually really easy and takes 5 minutes. First I had to buy some stain, and yes you guessed it, I bought it at Hobby Lobby!
 |
| Eco-Flo Leather Stain in Desert Tan / Hobby Lobby |
Step 5:
Now that my leather was stained it matched perfectly to the light brown leather string at Hobby Lobby. String isn't really the right word because it's pretty thick, but it serves the purpose.
 |
| Leather String / Hobby Lobby (similar) |
This is how mine came out.


Monday, August 12, 2013
Mint Simple Syrup

It's called simple syrup for a reason...it's truly simple to make and you can use it in just about anything. Andrew loves beverage - any and all drinks - so we tend to keep our fridge pretty stocked. The unfortunate part is that pre-made drinks are expensive, especially when you go through a gallon a day! In order to help save us some money I've decided to make as many drinks as possible at home. Through trial and error using a recipe adapted from the Joy of Cooking we created the best Mint Lemonade recipe (found here).
Here is how you can make Mint Simple Syrup at home.
The ratio of sugar to water is 1:1, so for every cup of water you will dissolve 1 cup of sugar.
You will need the following:
- Water
- Granulated Sugar
- Mint Sprigs
 |
| Sugar - cute container optional! |

Once sugar is completely dissolved turn off heat and add mint leaves. Cover and let sit for 15-20 minutes (depending on how strong you want the mint flavor).


Strain out mint and pour liquid into an airtight container. Store Mint Simple Syrup in fridge.
 |
| Strain |

Subscribe to:
Posts (Atom)