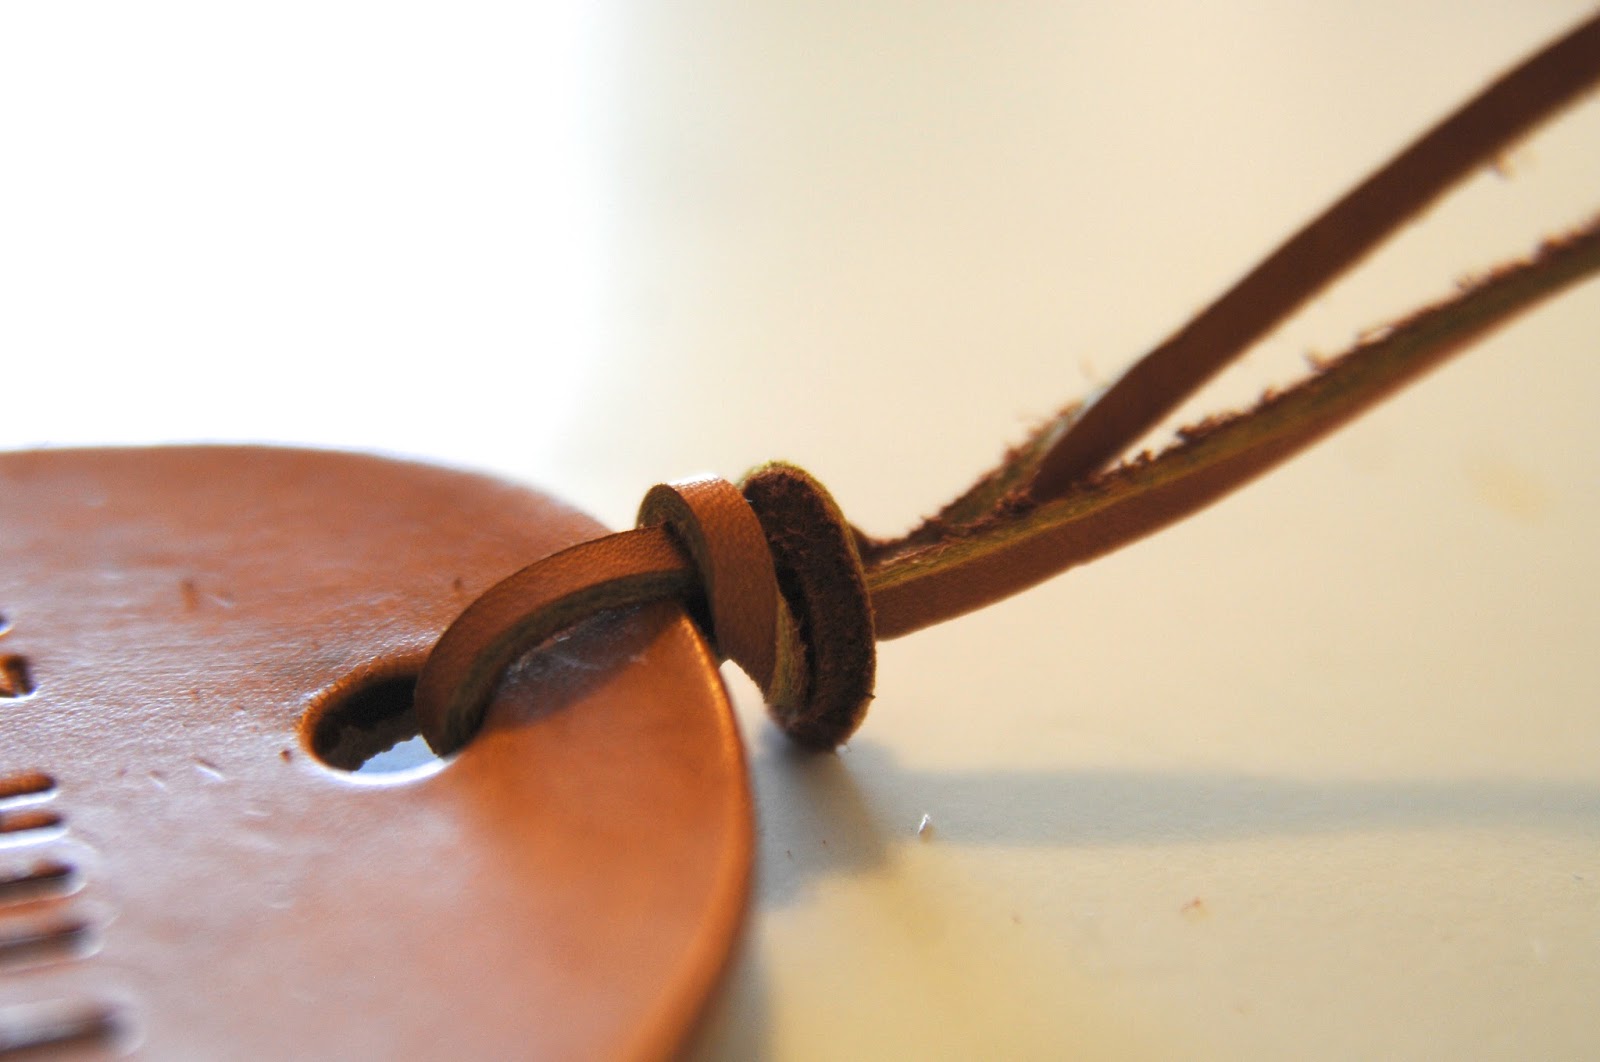
As part of my bridesmaid package I decided to send my girls luggage tags. Frankly, I'm asking each of them to spend quite a lot of money, especially on flights, so I figured I should give them something nice. I browsed Etsy for luggage tags, and although there were some beautiful ones, it just wasn't in my budget, so DIY it was.
I chose leather because I think it's a nicer material for a luggage tag. It's sturdy and it looks classy on any bag.
I live in a small town, and yet we have 3 craft stores around! I went to all 3 in order to get the leather I was looking for! Finally at the last store, Hobby Lobby, I found the perfect leather. I do have to say Andrew and I were completely overwhelmed when we walked into Hobby Lobby. The store is basically the size of your average Target, and has just as much stuff! Insane! We had to ask for directions in order to find the leather aisle.
 |
| Simple round leather / Hobby Lobby |
I also had to buy a tooling kit for the leather, so I can make the impressions. I also found that at Hobby Lobby (what an excellent store). I just got the basic letter and number set. This was probably the most expensive part of the whole project ($26.99, but if you use a coupon it's 40% off)!
 |
| Tooling Set / Hobby Lobby |
Step 1:
Wet the leather with a damp cloth (in my case I used a paper towel).
 |
| With leather everything should be done in circular motions. Don't swipe the cloth, move it in circles around the leather. This gives it a more even coverage. |
Wait for your leather to return close to the natural color of the leather (the water will darken the leather). This part doesn't take much time, as long as you didn't soak your leather.
Once the color returns line up your letter/numbers where you want them and then whack the end of the tooling instrument with a rubber mallet.

Now there's definitely a trick to getting the letters to line up in a straight line. I did not get this at first and definitely went through a few practice pieces of leather (like 5...). In the end I actually used a post-it note! Weird I know, but the adhesive side kept it in place and the edge created the straight line I needed to guide me.
Step 3:
Punch a hole in the top of the luggage tag. This is so you can attach a piece of string so your tag can be attached to your bag!
This step really tripped us up, and I, unfortunately, have no pictures to show you. We went to Home Depot and bought a grommet kit. The grommets didn't actually fit because the leather is actually pretty thick (1/8"), so we just used the punching part of the kit and were able to punch pretty decent holes.
Step 4 (optional):
The leather I had chosen didn't match any of the leather strings that were available, so I decided to stain the leather pieces. I wrote a short post about staining here. The whole process is actually really easy and takes 5 minutes. First I had to buy some stain, and yes you guessed it, I bought it at Hobby Lobby!
 |
| Eco-Flo Leather Stain in Desert Tan / Hobby Lobby |
Step 5:
Now that my leather was stained it matched perfectly to the light brown leather string at Hobby Lobby. String isn't really the right word because it's pretty thick, but it serves the purpose.
 |
| Leather String / Hobby Lobby (similar) |
This is how mine came out.